How to Install Plaster Coving
This is the third video in a series of quick coving tips that will explain how to install plaster coving & cornice in your home.
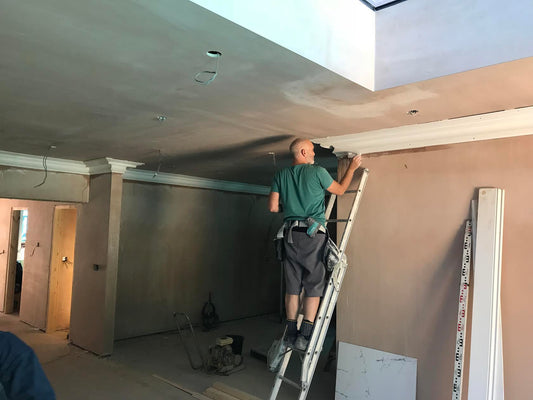
To show you how it is done, we’ve recruited professional coving installer, Mark Draper to showcase the necessary steps to fit your coving & cornice.
Tools you will need to complete the job:
- Suform (surface forming tool – a perforated metal grater which is a cross between a rasp and a plane)
- Small Tool
- Coving Adhesive
- Cornice - full range & sizes

Step 1 (0:00-0:30)
Before getting started, you will need to measure and mark up a room so that your coving is ready to be fitted.
Once this is done, run a surform down the top and bottom of the edges to remove any sharp bits. Safety is important as we don’t want you to cut your hands!
Step 2 (0:30-1:09)
We will then apply coving adhesive to both the top and bottom member with a small tool. This is done through a dabbing motion so there is no need to go along the top and the bottom.
Step 3 (1:10-1:36)
The next step is to apply the cornice. We sit on the line and ensure it is squeezed nice and tight. The coving is then pushed into place on the wall paying attention always to stay within the chalk line marks made during the measuring stage.
If you have a large cornice then it’s recommended to add a screw for safety reasons, especially as we are not relying on the adhesive. Remember to watch out for the wires!
Step 4 (1:37-2:17)
Countersink for the screw head with your drill to hold it in place. You want to be able to see yourself to be able to keep it in place. A large cornice typically requires 3 screws depending on the site.
Feel free to contact us if you have any questions regarding the size of cornice.
Step 5: (2:18-2:45)
Once in place any excess adhesive is scraped off using a busk/scraper before the next piece of cornice is fitted. Extra adhesive is added to mitres and joins before fitting the next piece to prevent cracking later.
Step 6: (2:46-4:02)
We then offer the cornice up and push it into the mitre and similar to our previous step, screw hole into the cornice to ensure there is a decent fix.
Don’t worry if there are gaps between the cornice and the wall or ceiling after fitting, as these will be filled with Plaster of Paris (casting plaster) during the filling stage of installation.
Clean off excess adhesive as you go with a busk/scrapper and then brush down the surface using a wet brush and the cornice is ready for filling. It is important to wipe off excess adhesive as you go and not to let it set on the face of the coving.
If you enjoyed this video and are in need of plaster coving & cornice, we have a range of sizes suitable for you here:
If you want your plaster coving delivered to you, then please check out the areas that we serve as well as our delivery times & fees to ensure we get your materials to you as quickly as possible.
We are a UK’s number one delivery company for plaster coving & cornice so please contact us if you want to know any more information regarding our delivery process.
-
Need help?
View articles and videos designed to help you make the right choices when purchasing and installing products from Plaster Ceiling Roses.
-
Help Guides