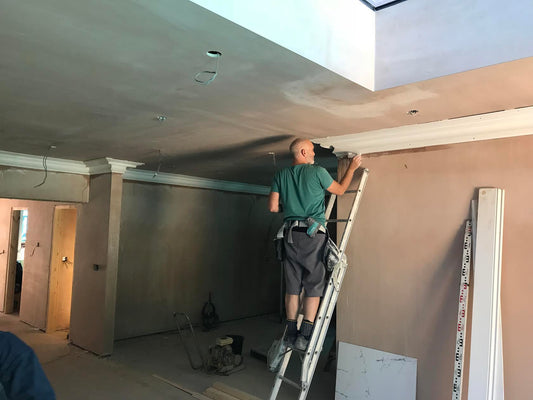
How to Cut an Internal Mitre
This is the first video in a series of Quick Coving Tips that explain how to fix plaster coving and plaster cornice.
A professional plaster coving installer describes in detail how to cut an external mitre, which is for a corner that projects into a room.
Typically a mitre box is used for this, but in this demonstration, the installer shows that simply by measuring and allowing for the depth and projection of the coving a perfect external mitre can be cut.
Step 1 (0:10-1:10):
The plaster cornice is laid on a bench with the ceiling edge against the installer and the wall edge away from him.
With an external mitre, it is important to remember that the projection measurement is always added to the top edge of the coving and the wall edge is held at the correct depth on the bench before cutting commences.
Following these simple guidelines on two separate pieces of coving will create a perfect 45 degree external mitre.
You should not worry about any chips or flaking caused by sawing as these disappear during the filling phase.
You will need another pair of hands to complete this job, especially when cutting!
Step 2 (0:45-2:14)
We have 1 external mitre cut and now it's on the other one. Again, we must remember that we're adding on to the top of the edge.
We'll make our mark and square it up. The top edge of the cornice is where will be adding it on.
Another of pair of hands to help sit the cornice at the correct depth and projection.
We will now have two perfect 45 degree external mitres.
General tips for this video
- Make sure you have the cornice the correct way up
- Position the ceiling edge so that it is closest to you
- Position the wall edge furthest away from you
- Square up a line on the cornice
- From the top edge of the line, take away the projection of the plaster coving and make another mark
- You'll need assistance from another person to cut the actual mitre
- Your assistant will need lift the back of the coving up while holding it at the correct depth
- Use a saw to cut from the bottom edge of the coving to the top edge, taking away to create the internal mitre
- Repeat the steps for the opposite end of the coving
-
Need help?
View articles and videos designed to help you make the right choices when purchasing and installing products from Plaster Ceiling Roses.
-
Help Guides


