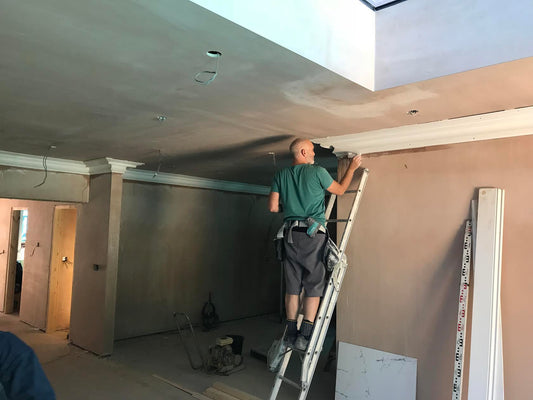
How to Fill a Mitre Joint - VIDEO
The filling stage of plaster coving installation requires quick but methodical work to create the perfect surface for decoration; this video shows how it's done from a professional coving installer.
This is after the fitting stage where we use casting plaster to create the perfect finish. The installer is filling an internal mitre to create the perfect corner that a few days later will be ready for decoration.
Tools you’ll need to complete the job:
- Bucket of clean water & wet brush
- Dry block
- Straight and Kidney busk
- Indian Bowl containing casting plaster
- Small Tool
Step 1 (0:11-0:38)
The first step is to dampen down the cornice with a wet brush to stop the suction of the plaster. The purpose of this is to make it more usable for the Plaster of Paris.Ensure you’re getting in that mitre with the wet brush
Step 2 (0:45-2:08)
Apply the top and bottoms to the cornice first with a twisting action to squeeze all the plaster underneath the cornice.
Don’t worry about getting on the face as it will be tidied up soon after. Now, do the other side.
You will only have 5 minutes to work with the Plaster of Paris as you will need to work quickly otherwise it will be unusable.
We advise to not put on too much plaster as you are able to take off. If it dries on you and is left on the cornice, it will be a problem.
Step 3 (2:09-4:10)
Now place on the mitre as timely as you can, especially in between the cracks. Use a small tool to get in between the awkward areas.
The only thing that is left will be the screw holes which can be left till last.
Now use your straight busk to clean to take off and clean the cornice. Don’t be too tight to the cornice as we don’t want it to be scratched during this step.
This is the same for ceiling and ensure it’s off the wall and of course, ceiling.
Feel free to have a little rubbish bag below to get rid of the excess plaster.
Start working the mitre, always keeping your busk at a right angle. Cutting away at the soft plaster that you put in.
Ensure all the plaster is off the face of the cornice. This completes stage 1.
Step 4 (4:11-11:00)
Just before commencing Stage 2 of the filling, he wipes the cornice with a damp brush to clean the face again.
Then repeats the process a second time; filling the tops and bottoms, filling the mitre and this time he also fills the screw holes.
We won’t need to use too much plaster as it’s simply a topping out coat. Once this is done leave it on until you take off.
After which he then cleans the surfaces and joint again with a Busk before bushing everything down a final time to remove the remaining crumbs of plaster (which by now will be drying out and becoming unworkable.
Any scratches can be smoothed out with sandpaper.
Step 5 (11:00-12:16)
We are now ready to use a brush to go over it as the plaster is nearly set, we just want to ensure that there are no crumbs. The Plaster of Paris that we’ve filled will dry the exact colour as the cornice itself.
If there are any scratches that you’re unhappy with then you can use a wet and dry block or some wet and dry paper. Just give it a rub!
Let it dry for a day then a coat of paint or a couple then the job is finished!
-
Need help?
View articles and videos designed to help you make the right choices when purchasing and installing products from Plaster Ceiling Roses.
-
Help Guides


