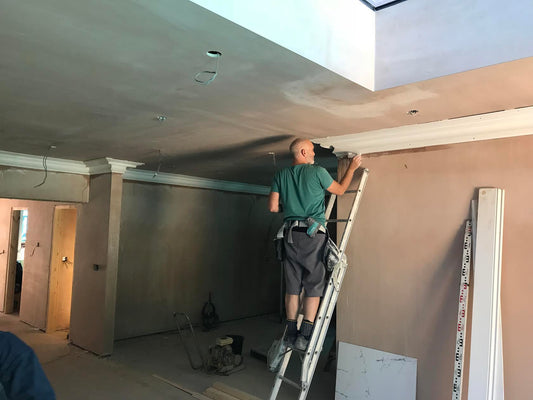
How to Fit a Plaster Ceiling Rose
This video will consist of how to fit a ceiling rose within your home. A professional Fibrehand explains this step by step process of ceiling rose installation. Fitting a plaster ceiling rose, particularly a large one, is a two-person job as they can be heavy and difficult to manoeuvre above your head. Two people mean the risk of dropping and damaging plaster ceiling roses during installation is greatly reduced.
Make sure you have a safe and stable platform for both of you to work on. Depending on the size of ceiling rose, you may be able to use 1 person for this job. Please contact us, if you are unsure of what ceiling rose you have.
Step 1 (0:09-0:18):
The first task before installation is to check that the electricity is turned off, particularly in the vicinity of the rose. Safety first! If you don’t know how to isolate the electrics around the area you are working we strongly suggest you consult a qualified electrician before you tidy up the wiring ready for the installation of your rose. Please test the lights to ensure they are turned off before work is started.
Step 2 (0:22-0:35):
The next step is to find any joists so that there is fixing for the screws. Again, test the wires to make sure there is nothing live. Once this has been completed, you will be ready to prepare your ceiling rose.
Step 3 (0:39-0:55):
We need to make sure there is a big enough hole within the ceiling rose that will be used. The purpose of this is to fit the wires through, which will be dependent on the number of wires on your ceiling. If we do not have a hole then we recommend drilling one into the ceiling rose, although plaster is fragile and can be damaged if knocked, it isn’t brittle and can be drilled.
Step 4 (0:55-1:40):
Next, we need to add adhesive to the back of the ceiling rose. We recommend focusing on the edges leaving a suitable space between adding a mix as long as we have enough to fit in. We will be using screws on the ceiling rose for extra support.
If you’re unsure of how to mix adhesive, please check out our guide here:
https://www.plasterceilingroses.com/pages/installation-guides-how-to-mix-coving-adhesive-video
Step 5 (1:42-2:40):
Now we will be able to fit the ceiling rose. We need to feed the wires through the centre of the ceiling rose to ensure it’s lined up with the pattern running parallel to the walls of the room. Once this has been sorted, screw into the ceiling roses using the joist line so that there is a definite fix.
Step 6 (2:41-3:50):
Once the rose is securely fastened to the ceiling, scrape off any additional adhesive with a scraper being careful not to damage the rose. Dampen down the ceiling rose using a wet brush before filling the ceiling joint and screw holes with plaster of paris (casting plaster) or a filler.
Remember to fill the screw heads as well, taking off the excess to create a smooth surface with a scraper or busk and finally wipe off any excess plaster with a wet brush. A light rub down maybe required.
Step 7 (3:51-4:30)
Once all the screw holes and the ceiling joint are filled, wiped down and dry, the ceiling rose is then ready for decoration.
-
Need help?
View articles and videos designed to help you make the right choices when purchasing and installing products from Plaster Ceiling Roses.
-
Help Guides


